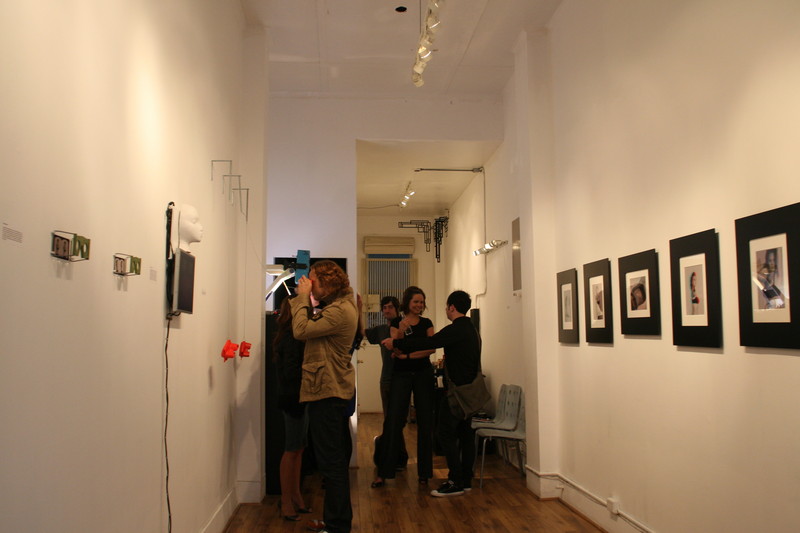
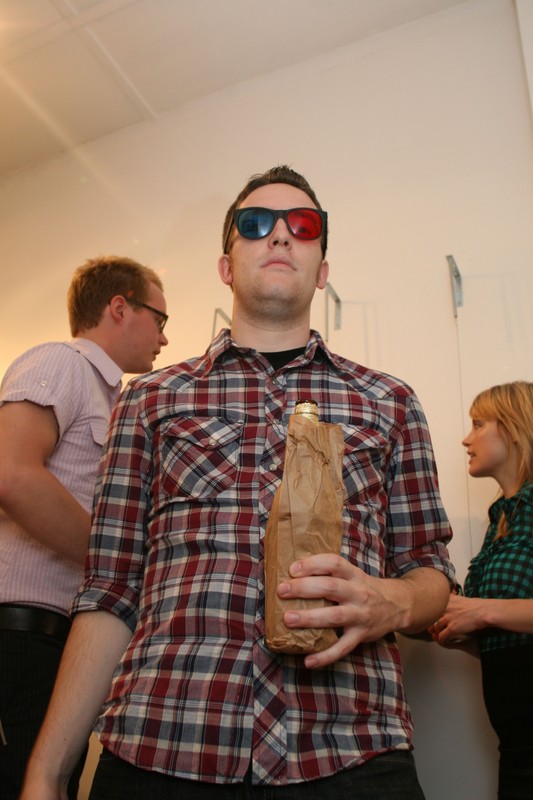
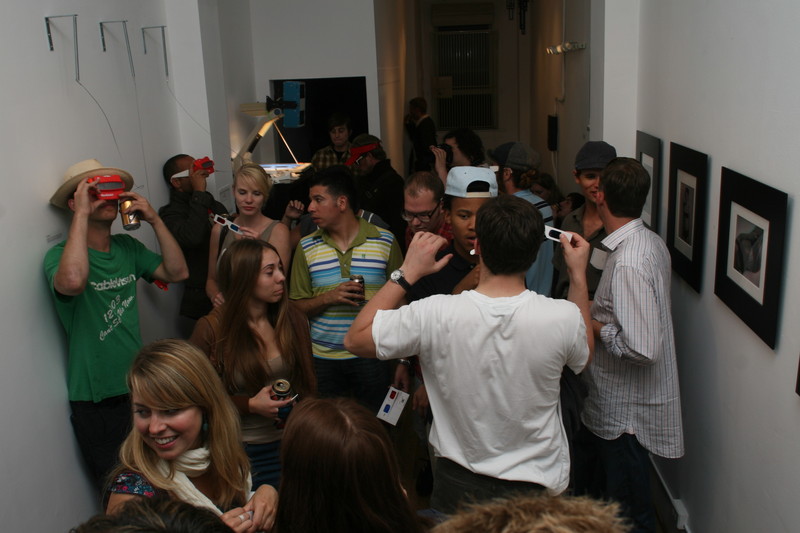
The show finally opened Saturday with the yelpers showing up right at 7pm. What a pleasant, punctual bunch. Everything went surprisingly smoothly and I think I only lost one pair of nice 3D glasses. I’d like thank everyone who helped out on the show and special thanks goes to Pavla. I would be completely lost without her.
There’s still stuff for sale, including View-Masters, so contact me at asm@syne.net if you’re interested.
Here are a few choice pictures from the show:
posted by asm at 11:16 pm
After hours and hours of research and numerous failed experiments (and one successful one, see below), I’ve finished the linear polarization system. The final setup uses an overhead projector with an ancient gem bolted on the front. I managed to find an old polarization movie projector attachment manufactured by Paramount complete with an ancient manual. The polarized lenses within it are far superior to the sheets I bought online and it has a very flexible and finely tunable mirror system. Another convenient aspect of its lenses is they’re compatible with the paper I bougtht from Flax so I don’t have to spray paint my own screen.
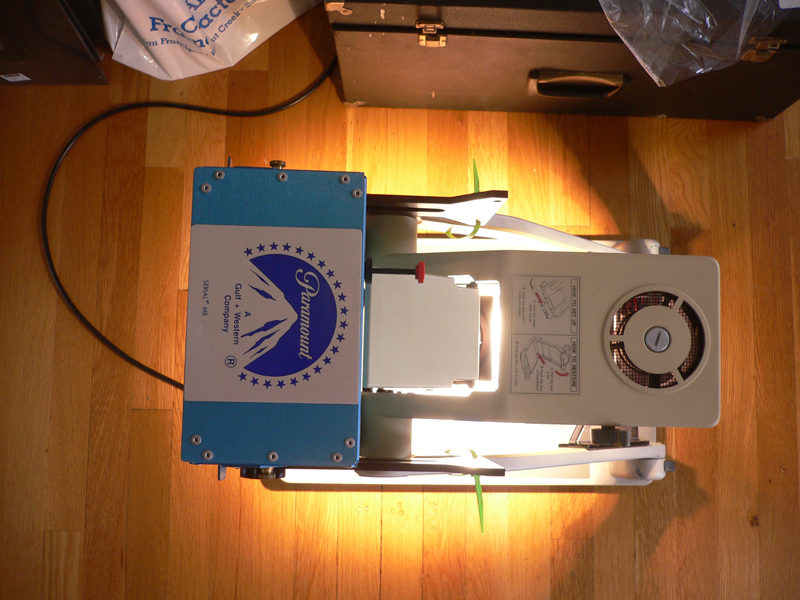
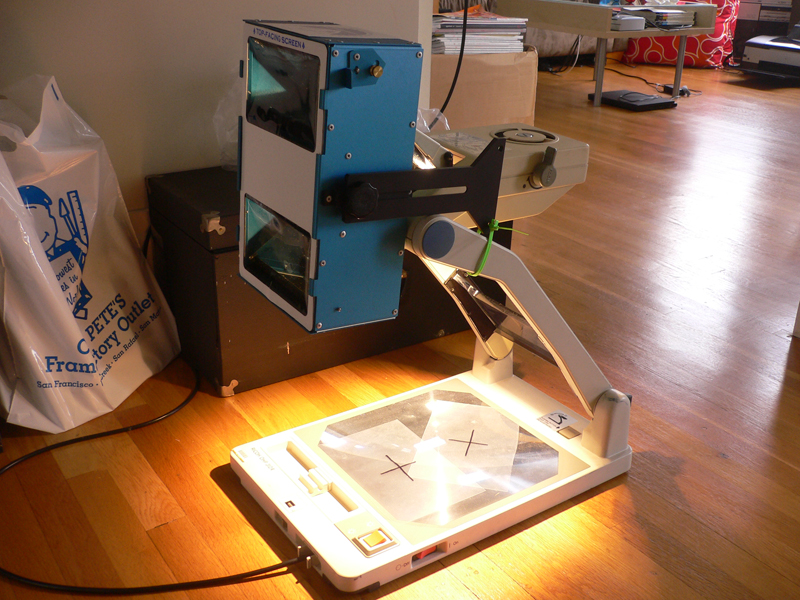
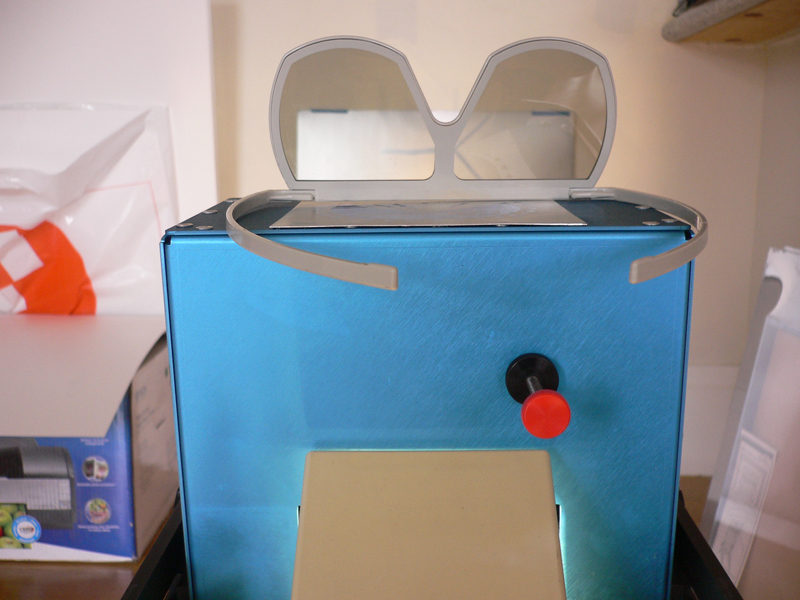
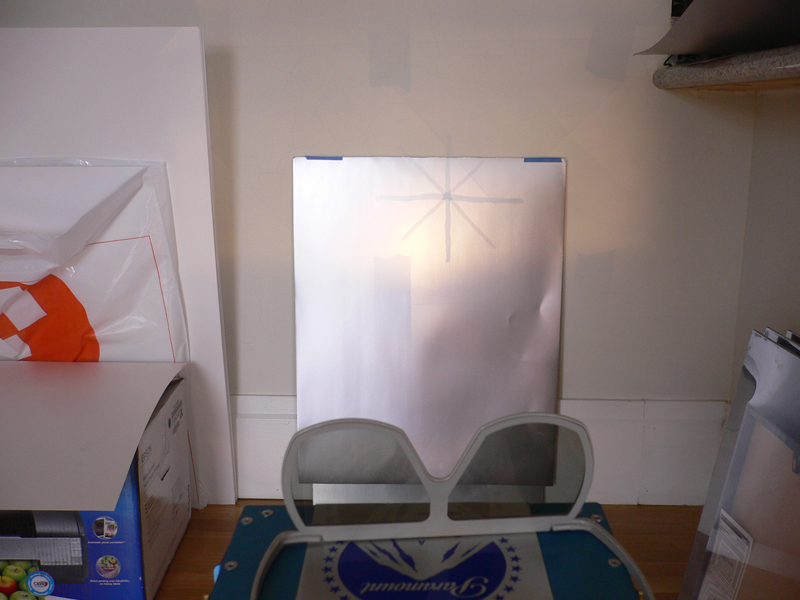
Here’s a quick demo of how it works. In the left image below you can see a + crossed with an x. If you look at the overhead stage in the left image above, you’ll see the + and x are separated by about 5 inches. Now look at the right image below. You’ll see each of the lenses only sees either part of the + or part of the x. Just another wonderfully complex way to present different images to each eye!
posted by asm at 1:29 pm
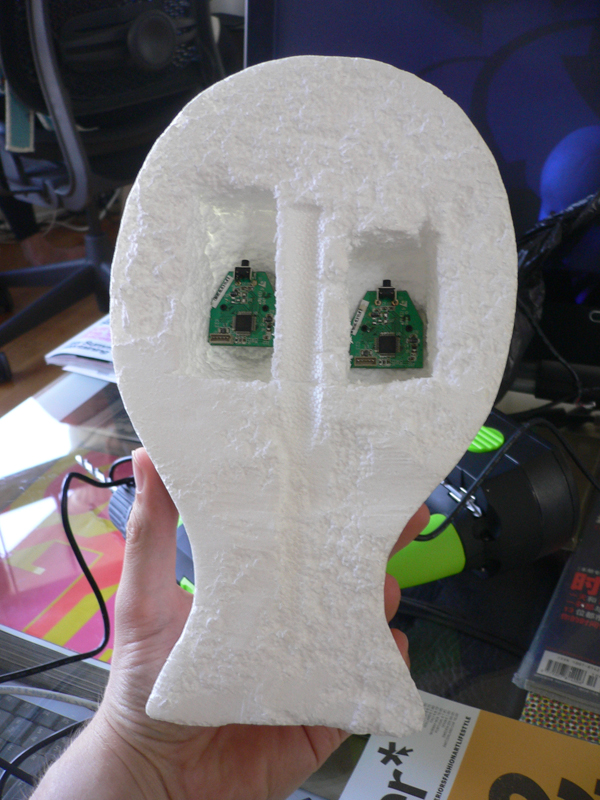
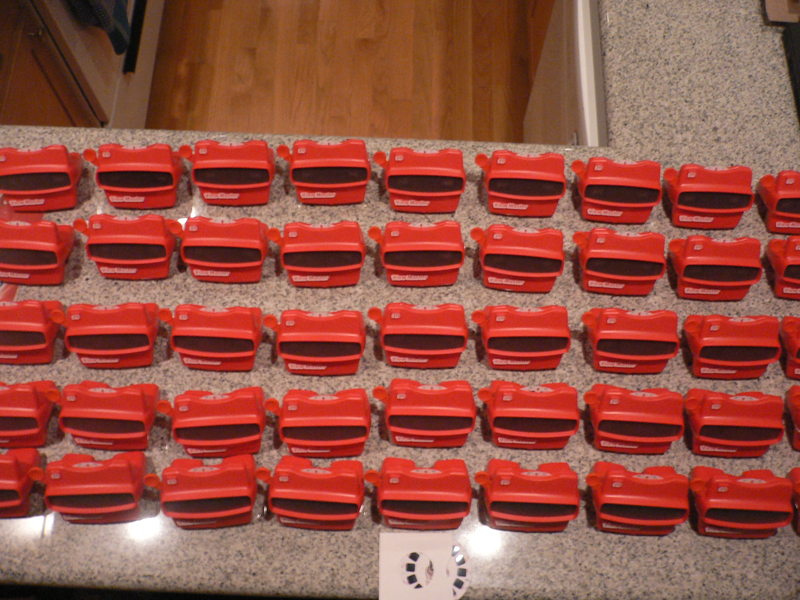
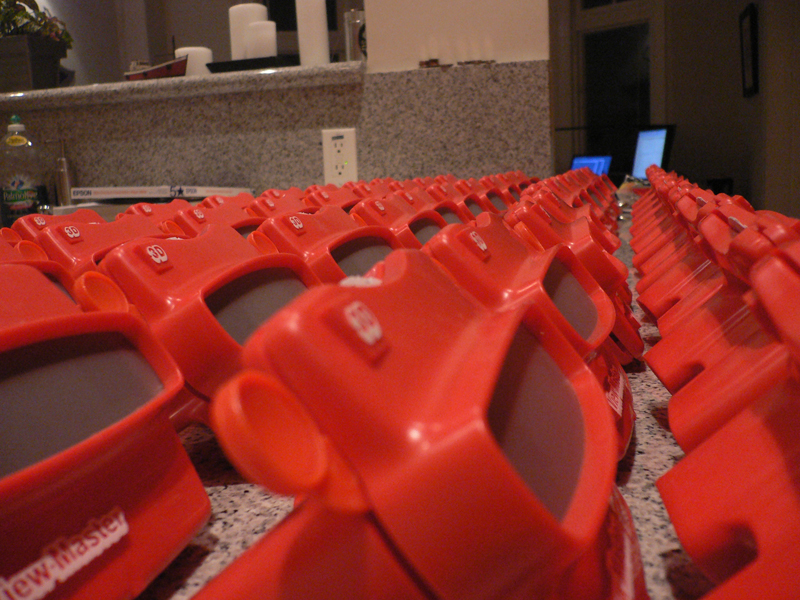
Perhaps one of the sweetest items of the show will be 50 View-Masters. We’ll have several at the gallery and the rest will be for sale after the show. Each reel will be individually numbered and comes with 7 of the stereo images from the show. I suppose if there’s enough demand, I could run another batch. Feast your eyes:

posted by asm at 11:10 pm
After getting all the materials necessary to assemble the flyers, I finally sat down last night and put 500 of them together. This involved stamping each pair of glasses with the word “RIGHT” on the right side (with these glasses it’s not immediately clear which color is meant for which eye), affixing a glue dot to each pair, and then pressing the glasses onto the cards. It took about 3 hours to make 500. I figured out that if I did each state separately my muscle memory would kick in and speed things up. Now I have to figure out where to put these things…
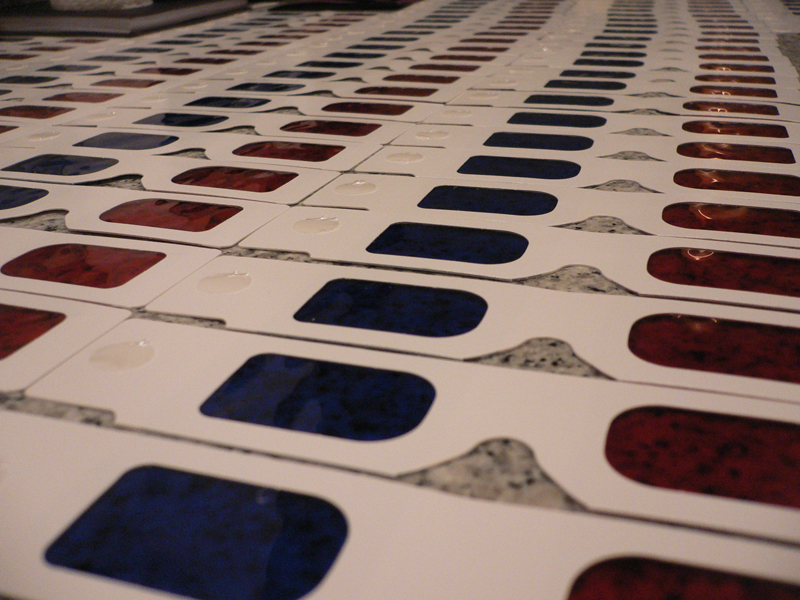
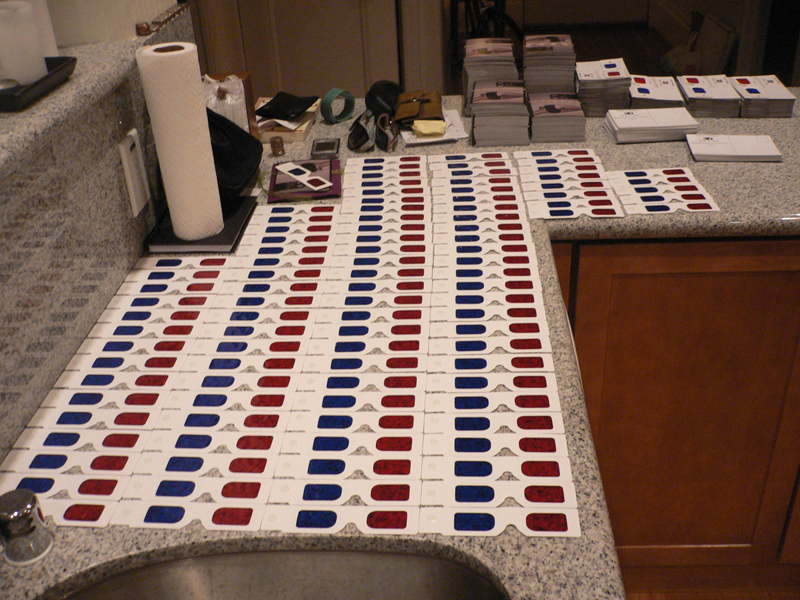

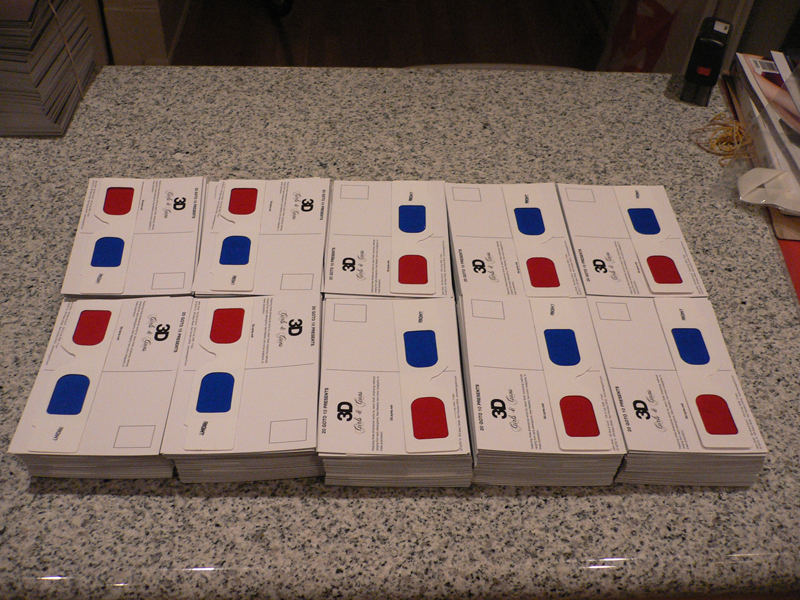
Update (7/1): I finished the other 500 tonight only to realize Clubcard gave me 1500. I guess I should order another 500 glasses…
posted by asm at 8:51 am
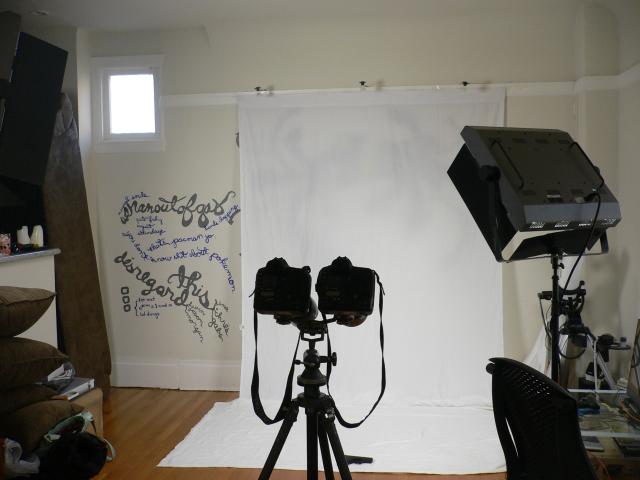
I stopped by Flax yesterday to collect some materials for a silver screen. After testing on a few materials around my house and reading this excellent thread, I realized 3D polarization was going to be a bit more difficult than I thought.
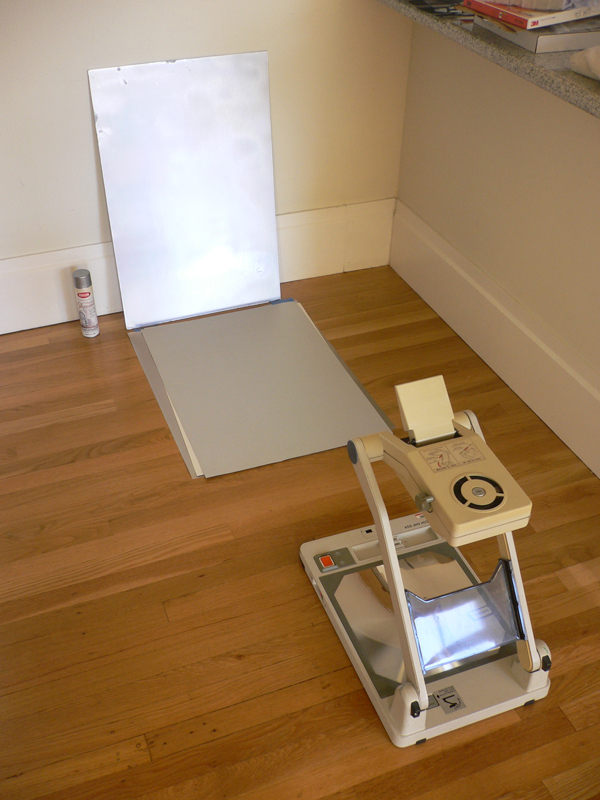
Flax didn’t really have any paper that resembled the old silver screens so I picked up 3 shades of gray/silver sheets. As a backup plan, I grabbed some foamcore and chrome metallic spray paint. The paper sheets completely failed with the darkest one showing only a very slight effect. However, the spray painted foamcore worked perfectly. I also noticed it’s best to position the polarizing filter between the screen and the projector lens, not between the stage and the lens. The angle of the polarizing sheet is also critical in that it must be exactly perpendicular to the light path, not parallel to the screen (although, if the light path is perpendicular to the screen then the filter will be parallel to the screen as well).
Here are a couple pictures of my test setup. The polarizing sheet is not displayed because I haven’t mounted it yet.
posted by asm at 8:57 am
In case you don’t have a pair of 3D glasses, there are always options. I mentioned earlier I made a pair from a clear piece of plastic and two sharpie markers. Or, if you don’t happen to have plastic sitting around, you can always use plastic wrap like this:
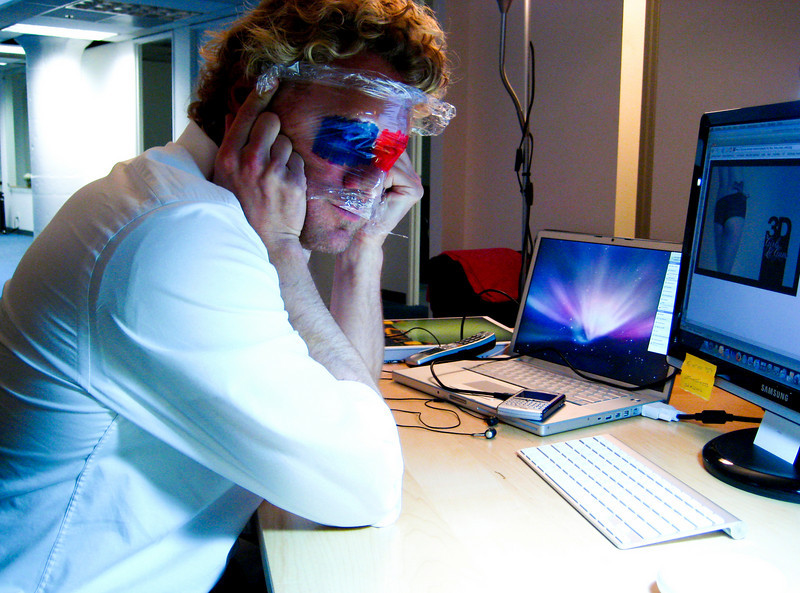
Wired also has a great blog article on several options.
posted by asm at 3:53 pm
Pavla and I worked up a flyer for the show tonight. All the credit goes to her for her excellent design taste and photoshop magic. Here it is:

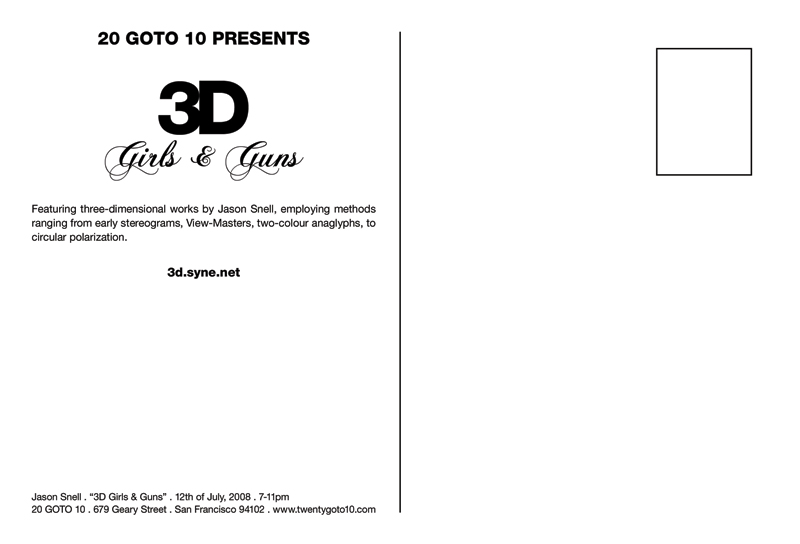
I’ve ordered 1000 of these 3D glasses to affix to the back of each flyer with a glue dot so the viewer won’t have to travel far for a pair of 3D glasses. Make sure you bring your flyer and glasses to the show to view the rest of the anaglyphs.
The official date for the show will be July 12th. I’ll be adding all the usual event links soon.
posted by asm at 10:21 pm
It’s been a while since I’ve had much time to work on the show, but I took the day off today did nothing but mess around in Photoshop. The shoot went without a hitch and the images are looking fabulous even before post processing. However, I now have some 2×200 pictures that need to be merged into 3D images before I can even begin narrowing them down the best few.
Enter Adobe Photoshop scripting. I’ve always known Photoshop had a batch system for automating repetitive tasks, but today I discovered the entire application is scriptable via JavaScript. Reaching back into the days of macroing mining in Ultima Online, I wrote a script to do the following in Photoshop:
- For each pair of images, open up the right and left images
- Convert both images to grayscale
- Convert the left image back to RGB
- On the left image, select the blue and green channels
- On the right image, select all and copy and paste into the left image
- On the left image, select all the color channels and save the image to a .psd
The result was about 60 lines of JavaScript code that I could run and debug using the Adobe ExtendScript Toolkit. The script ran for a few hours and merged all the images flawlessly. Doing this manually probably would have taken me a few days and my hands would have fallen off.
The model and I have narrowed our favorite images down to about 20 images. Now, I’ll register the images and we’ll start post processing.
Here’s a link to the script: 3dmerge.jsx.
posted by asm at 3:45 pm
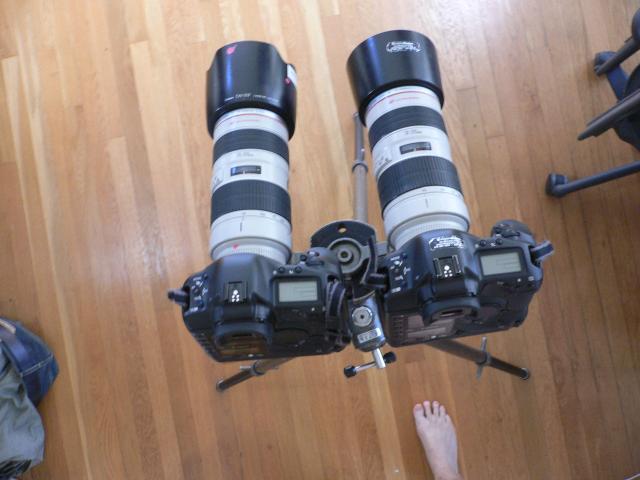
I went to Adolph Gasser today to rent a bunch of photography equipment. The guy there was extremely helpful and walked me through everything I needed. They even had a tripod attachment for mounting two cameras on one tripod. Here’s a summary of what I picked up:
- 2x Canon EOS1D bodies
- 2x 70-200mm F2.8 lenses
- 2x Kaiser Fluorescent 6 Tube Light kits
- Tripod, mount, extra bulbs
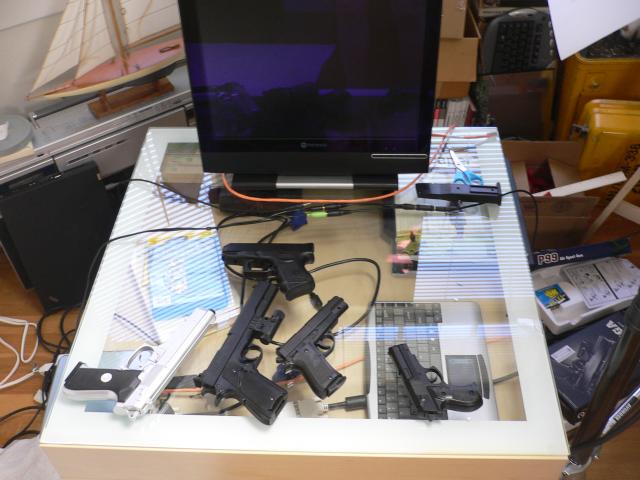
I opted to go with continuous lighting since syncing the two cameras would be difficult aside from syncing them to a strobe light kit. The Kaiser lights actually turned out to be great and put out fairly white light once they warmed up. Here’s a few pics of the setup, arsenal, and my couch in the kitchen:
posted by asm at 3:02 pm